
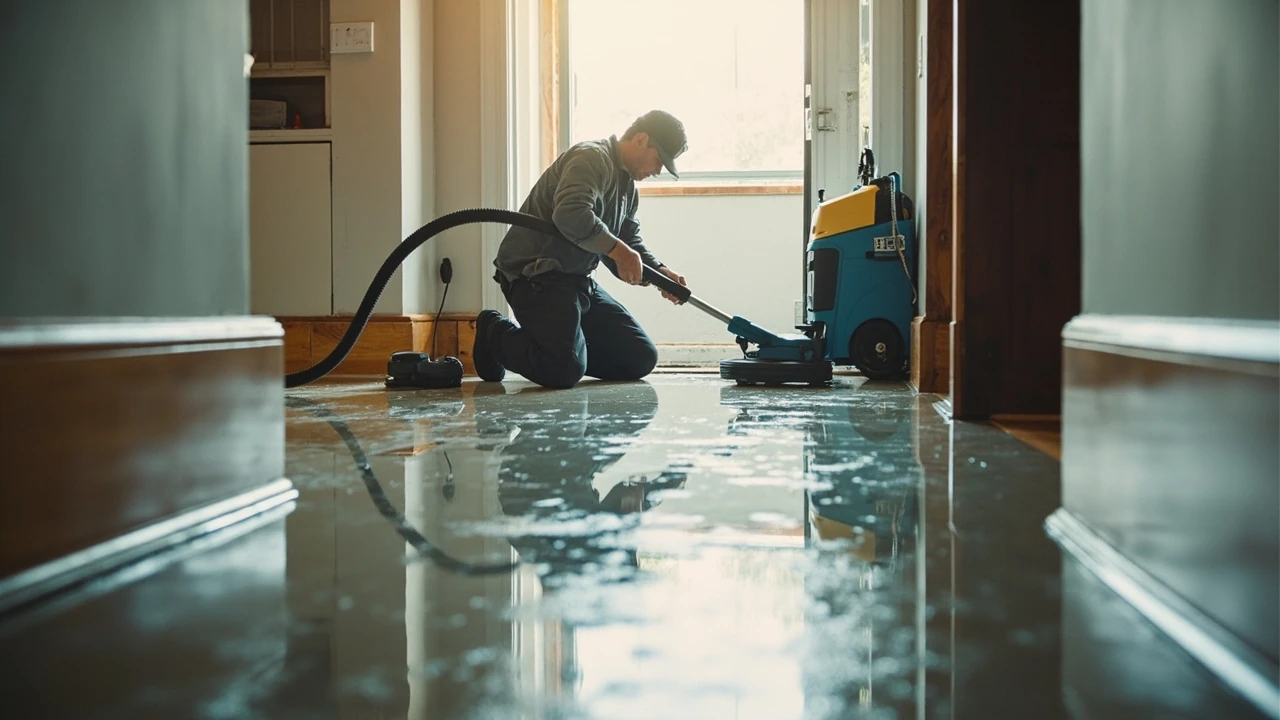
Water cleanup at home: a practical guide for homeowners
A sump pump fails during a thunderstorm, a supply line under a bathroom sink lets go overnight, or a washing machine hose splits while you are at work. In each case, the next 24 to 48 hours decide whether a home ends up with a dry floor and a functioning baseboard, or with swelling subfloor, cupped hardwood, and a musty smell that lingers for a season. Water cleanup is the set of decisions and actions that turn a wet building back into a dry one before permanent damage sets in.
This guide walks through what water cleanup really involves for a homeowner. It is written for residential situations such as burst pipes, appliance failures, roof leaks, and small-scale flooding, not for large-scale disaster response. You will learn the safety checks that come first, the difference between clean, gray, and black water, the equipment a restoration company uses and why each step matters, and the practical limits of doing parts of the job yourself.
What counts as water cleanup in a home
Homeowners use the phrase water cleanup in slightly different ways. In the restoration industry, it usually means the full process that begins the moment water is noticed and ends when the structure is verified dry. That process includes:
- Stopping the source and stabilizing the situation
- Removing standing water
- Extracting water from carpet, pad, and other absorbent materials
- Removing unsalvageable materials such as soaked drywall or padding
- Drying the structure with air movement, dehumidification, and heat
- Cleaning and sanitizing affected surfaces
- Monitoring moisture until the structure returns to normal levels
The same general workflow also applies to smaller jobs. A small dishwasher leak that gets handled with towels and a fan still goes through the same phases in miniature: stop the water, remove it, dry the structure, and confirm that hidden moisture has not been left behind.
Safety comes first in any water cleanup
Before grabbing a mop, take a step back. Water inside a building changes the hazards in that space, and the first few minutes are when most injuries happen. A consistent safety check protects both the homeowner and anyone helping.
Electrical hazards
Water and building wiring are a serious combination. If the affected area has outlets, switches, or appliances that may be wet, do not step into standing water until the power to that area is off. The home’s main breaker panel is the right place to shut down affected circuits. If you cannot reach the panel safely, or if water is rising toward it, leave the space and call the utility or a licensed electrician.
Structural and slip hazards
Water-soaked materials are heavier than they look. A saturated carpet can weigh several times its dry weight, and waterlogged drywall loses much of its strength. Avoid pulling down ceilings or pushing on bulging surfaces. Wet floors are also slippery, especially on smooth tile or finished wood, so closed-toe shoes with grip help.
Contamination
Water from a clean supply line behaves very differently from water that has passed through a sewer line or has been standing long enough to grow bacteria. The next section covers the categories that determine what protective equipment you need and what you can keep or must discard.
Clean, gray, and black water: why the category matters
Restoration professionals classify water by its source and the contamination it carries. The category controls what can be saved, what protective equipment is needed, and whether a homeowner should attempt any of the work at all.
| Category | Typical sources | Typical contaminants | Homeowner implications |
|---|---|---|---|
| Clean (Category 1) | Supply line, burst pipe, rainwater, toilet tank (no waste) | Minimal; usually no significant contamination if handled quickly | Often manageable with extraction and drying; porous items can sometimes be saved if dried within 24 to 48 hours |
| Gray (Category 2) | Dishwasher, washing machine, sink drain, shower with no waste contact | Detergents, food residue, bacteria from everyday use | Porous materials usually removed; nonporous surfaces cleaned and sanitized; drying still essential |
| Black (Category 3) | Sewer backup, floodwater from rivers or storms, stagnant water that has been present for 48+ hours | Sewage, pathogens, mold spores, chemical contaminants from outdoor flooding | Professional remediation is the standard; porous materials removed; specialized disinfection required |
Category can change with time. Clean water that sits in a warm building for two days can become gray or black as bacteria multiply. That is one reason the restoration industry treats speed as a safety feature, not just a convenience.
The first 24 hours: a practical water cleanup sequence
The exact order of operations depends on the source and extent of the water, but the underlying sequence is consistent. Working through it methodically is what separates a quick recovery from a months-long remodel.
1. Stop the source
Close the supply valve at the fixture if you can see it. If the source is a burst pipe or you cannot find a local shutoff, turn off the home’s main water valve. For storm-related flooding, shutting off electricity to affected areas is the priority. For a sewer backup, stop running water in the house and avoid using fixtures until the line is clear.
2. Document the damage
Before moving anything, take photos and short videos of the affected areas, affected belongings, and the water line on walls. Insurance adjusters rely on this evidence, and so do restoration estimators. Keep samples of damaged materials, such as a section of soaked carpet, if the insurance company asks for them.
3. Remove standing water
For small volumes, a wet vacuum or a mop and bucket can make a real difference. For larger volumes, restoration companies use truck-mounted or portable extractors that pull water out of carpet and pad rather than just off the surface. Removing water mechanically is faster and more effective than relying on evaporation alone.
4. Remove unsalvageable materials
Materials that hold water for long periods and cannot be effectively dried are usually removed. Common examples include:
- Carpet padding, even when the carpet itself can be saved
- Drywall below the water line, usually cut 12 to 24 inches above the highest mark
- Fiberglass insulation that has been soaked through
- Baseboards, which can be removed, dried, and refitted later
- Cabinet bottoms or particleboard shelving that have swollen
5. Set up drying equipment
Once the bulk water is gone, the structure needs air movement and dehumidification. Air movers push warm, dry air across wet surfaces, and dehumidifiers pull moisture out of the air so evaporation can keep happening without raising indoor humidity to damaging levels. A typical residential setup might use one or two dehumidifiers and several air movers arranged to push air across the wet areas, not against walls.
6. Clean and sanitize
After the structure is drying, hard surfaces are cleaned with detergents appropriate to the water category. For gray or black water, disinfection follows cleaning, because organic matter left on a surface reduces the effectiveness of disinfectants. Restoration technicians use EPA-registered products and follow label contact times.
7. Monitor moisture
Professionals use pin and pinless moisture meters to track the drying process and confirm that the structure has returned to normal moisture levels. The equipment usually stays in place for three to five days, with daily readings to confirm progress and adjust the setup.
Equipment that makes water cleanup actually work
The gap between mopping the floor and restoring a structure is mostly equipment. Each tool has a specific job, and the order of deployment is not arbitrary.
| Equipment | Main purpose | Where it is used | Notes for homeowners |
|---|---|---|---|
| Wet vacuum or extractor | Remove standing water and pull water from carpet and pad | First hours after the loss | A household wet vacuum handles small jobs; large volumes call for professional extractors |
| Air mover | Create airflow across wet surfaces to speed evaporation | Throughout the drying phase | Positioned at 45 degrees to the wet surface, blowing across, not into, walls |
| Refrigerant or desiccant dehumidifier | Lower indoor humidity so evaporation can continue | Alongside air movers | Closed windows and doors are important so the dehumidifier is not fighting outdoor air |
| Moisture meter | Measure moisture content in materials | Daily during drying | Pinless meters scan surfaces; pin meters check deeper; both help confirm when materials are dry |
| HEPA air scrubber | Capture dust, spores, and particles during demolition and drying | During removal and drying | Most useful when drywall or insulation is being removed |
| Thermal hygrometer | Track temperature and relative humidity | Throughout the project | Helps confirm the drying environment is actually working |
Renting professional drying equipment is possible for motivated homeowners, but the equipment is most effective when set up with a clear drying plan and daily readings. Without monitoring, it is easy to run a dehumidifier for a week in a room that is still wet inside the walls.
What you can realistically do yourself, and where the limits are
Homeowners often handle parts of water cleanup themselves, especially on smaller Category 1 losses. The trade-off is usually between cost, time, and the risk of hidden moisture. The lines below are useful as a starting point, not a rule for every situation.
Reasonable DIY territory
- A small clean-water leak from a supply line that is caught within a few hours, affecting a single room with nonporous floors
- Removing wet carpet pad and setting up household fans and a dehumidifier after extraction
- Cutting out a small section of wet drywall and replacing it after the cavity is dry
- Cleaning and sanitizing hard surfaces with appropriate products after the structure is dry
When a professional is the safer call
- Any Category 3 water, including sewer backups and outdoor floodwater
- Water that has been standing for more than 24 to 48 hours
- Water that has wicked up walls or traveled under cabinets or appliances
- Hardwood floors, which require specialized drying mats and quick response to cupping
- Visible mold growth, or a musty smell that suggests hidden mold
- Large square footage, where the volume of water and the drying plan exceed household equipment
The underlying reason for the limit is not secrecy. Restoration work is a sequence, and skipping the monitoring step is what turns a manageable loss into a long one.
Common mistakes that complicate water cleanup
Most water cleanup problems are not caused by the water itself, but by well-intentioned decisions that slow drying or trap moisture. A few patterns show up again and again.
Closing up the space too early
It is tempting to shut the windows and doors to “keep the rest of the house clean.” During active drying, the opposite is needed: doors and windows are usually closed to concentrate the dehumidifier’s work, but the affected area has to remain open to that equipment. Sealing wet materials behind fresh paint or new baseboard before they are dry is one of the more common ways a small loss becomes a larger one.
Trusting the surface
Dry carpet over a wet pad, or a dry baseboard over a wet sill plate, is a frequent cause of hidden damage. Moisture meters and, when needed, small inspection holes in drywall are how restorers confirm what is happening beneath the surface.
Replacing too early
Insurance and time pressure can push homeowners to rebuild before drying is complete. Rebuilding over wet materials is the most expensive mistake in the process, because it usually means tearing out the new work later.
Skipping the source fix
Cleaning up a leak without repairing the pipe, appliance, or roof that caused it is just a delay. The first water cleanup is rarely the last unless the underlying cause is addressed.
How long water cleanup actually takes
Timelines vary, but a typical residential project has a recognizable shape. The first day is dominated by extraction and removal. Days two through four are usually active drying, with equipment running and moisture readings taken daily. Day five or six is often when the equipment is pulled and the space is verified dry, with reconstruction starting shortly after. Larger losses, or those involving hardwood, plaster, or crawl spaces, can take longer.
A useful way to think about the timeline is in terms of layers. Surface water is gone within hours. Water in carpet pad and the surface of subfloor is usually gone in two to three days. Water deep in wall cavities or in thick subfloor may take a week. Moisture in hardwood floorboards can take weeks if the boards have cupped, and sometimes never returns to a flat profile without sanding and refinishing.
Working with insurance on a water cleanup claim
Most homeowner policies cover sudden and accidental water damage, such as a burst pipe or a failed water heater, but exclude damage that has been ongoing or that comes from outside floodwater. Flood coverage is usually a separate policy. A few practical steps make the insurance side of a water cleanup less stressful.
- Report the loss promptly and ask what documentation the carrier wants
- Keep all receipts for emergency mitigation, equipment rental, and temporary housing if needed
- Save samples or photos of damaged items before disposal
- Ask whether the carrier has a preferred restoration network, and understand the implications if you choose a different contractor
- Get the scope of work and the final invoice in writing
The adjuster’s estimate and the contractor’s estimate sometimes differ, especially on items like the height at which drywall is removed or whether cabinets can be dried in place. It is reasonable to ask for the reasoning behind each line item and to discuss disagreements before work is authorized.
Preventing the next water cleanup
Most residential water losses have a short list of common causes, and several are within a homeowner’s control. A few habits reduce the odds of needing water cleanup in the first place.
- Replace rubber washing machine hoses with braided steel lines, and replace them on a schedule rather than waiting for failure
- Know the location of the main water shutoff and make sure it actually works
- Inspect supply lines to toilets, sinks, and water heaters annually for corrosion or slow drips
- Clean gutters and confirm downspouts carry water away from the foundation
- Test sump pumps before the rainy season, and consider a battery backup for storm-prone areas
- Install water leak sensors near water heaters, behind refrigerators with ice makers, and under sinks
These are unglamorous tasks. They are also the difference between a normal Tuesday and a contractor pulling wet drywall out of your living room.
Frequently asked questions
How quickly should water cleanup start after a leak?
Ideally within the first few hours. Mold can begin colonizing wet building materials within 24 to 48 hours under warm, humid conditions, and the longer water sits, the more it wicks into walls, subfloor, and cavities. Even on a Category 1 loss, prompt extraction and drying is the single biggest factor in keeping damage limited.
Is it safe to stay in the house during water cleanup?
It depends on the extent and category of the water, and on which rooms are affected. For a small clean-water leak in a single room, many homeowners stay in the house. For gray or black water, or for jobs that require removing drywall or running multiple pieces of equipment, it is often more practical to stay elsewhere during the active drying phase, especially if there are children, older adults, or people with respiratory conditions in the home.
Do I need to remove wet drywall during water cleanup?
Wet drywall is usually removed at least partway up the wall, because it loses strength, holds moisture against the framing, and is difficult to dry from the back side. The standard practice is to cut 12 to 24 inches above the highest visible water line, remove the wet section, and inspect the cavity behind it before drying and rebuilding.
Can hardwood floors be saved after water damage?
Sometimes, but it depends on the water category, how long the water was present, and how the floor is constructed. Solid hardwood responds better to specialized drying mats than engineered hardwood, and both respond better to quick action. Cupping can sometimes be sanded out after the floor is dry, but severe crowning or buckling usually means replacement.
What is the difference between drying and dehumidification?
Drying refers to removing moisture from materials. Dehumidification refers to removing moisture from the air so that evaporation from those materials can keep happening without driving indoor humidity to levels that cause secondary damage. Air movers create the evaporation. Dehumidifiers manage the resulting humidity. Both are needed for an effective water cleanup.
Will bleach kill mold during water cleanup?
Bleach can kill surface mold on nonporous materials, but it does not penetrate porous materials like drywall or wood, and it does not address the underlying moisture. In water cleanup, the standard approach is to fix the moisture problem first, then remove porous materials that cannot be cleaned, and then clean nonporous surfaces. Bleach alone, without drying and material removal, is not a complete answer.
How do restoration companies decide what to throw away?
The decision is based on the water category, the material, and how long it was wet. Porous materials that have absorbed gray or black water, such as carpet pad, drywall, and padding in upholstery, are almost always removed. Hard, nonporous materials can usually be cleaned and sanitized. Materials exposed to clean water for a short time are sometimes dried in place, with monitoring to confirm they actually return to normal moisture levels.
How much does professional water cleanup cost?
Costs depend heavily on the size of the affected area, the water category, and the region. A small Category 1 job in a single room can run from a few hundred to a couple of thousand dollars, while a multi-room Category 3 loss can reach five figures or more. Insurance coverage and the deductible on the homeowner’s policy are usually the deciding factor in whether the work is filed as a claim or paid out of pocket.
Can I run household equipment instead of professional gear?
For very small jobs, household wet vacuums, fans, and a consumer dehumidifier can make a real difference. The trade-off is monitoring: without moisture meters and a daily drying plan, it is hard to know whether the structure is actually dry. If there is any doubt, a one-time professional assessment is often less expensive than rebuilding later.
What should I do first if I find a water leak right now?
Stop the source, kill power to the affected area if there is any chance of electrical contact, take photos, and call a restoration company if the water is more than a small spill or has been present for more than a few hours. The first hour is mostly about preventing more water and more damage, not about cleaning up what is already there.
Leave a Reply