
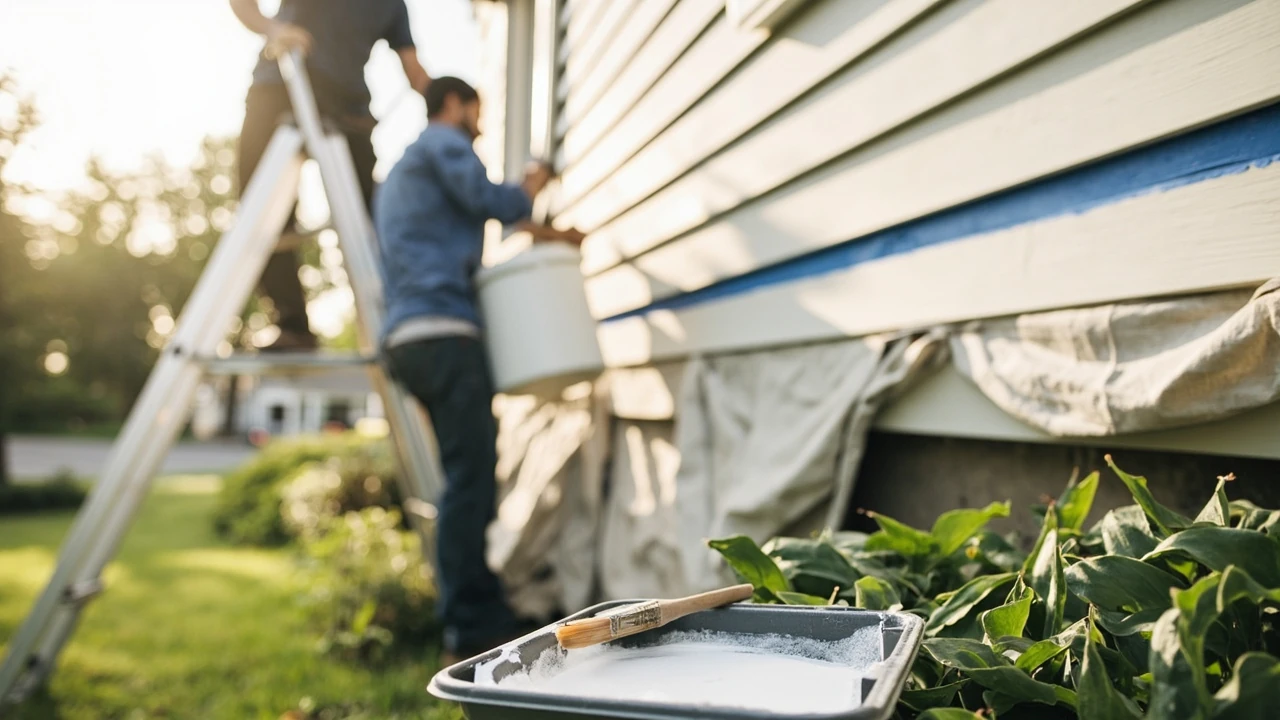
Exterior painters: how to hire the right team for your home
A fresh coat of paint is one of the few home upgrades that changes how a house looks on day one and how it holds up for the next decade. The catch is that the difference between a paint job that still looks sharp eight years later and one that peels by the third summer is almost never the paint brand. It is the people on the ladder. Choosing exterior painters is less about finding anyone willing to take the job and more about understanding what a proper exterior repaint actually involves, then comparing written proposals against that standard.
This guide walks through the decisions a homeowner faces when hiring exterior painters, the technical points that separate a careful contractor from a rushed one, the questions worth asking on the first phone call, and the practical checks that protect you from common paint failures. The goal is to help you compare bids on equal terms, recognize scope gaps before you sign, and end up with a finish that genuinely holds up to sun, rain, and time.
What exterior painters actually do on a job
An exterior repaint is not just a coat of color over what is already there. A complete job includes surface preparation, minor repairs, protection of landscaping and fixtures, the application of one or more coats, and a final walkthrough. Skipping or rushing any one of those steps is usually where premature failures begin.
Most homeowners only see the painting part. The preparation is what determines whether the new film adheres and stays flexible through seasonal movement. On a typical single-family home, a thorough crew will spend the majority of the first day or two on prep work before a brush or roller ever touches the siding. Knowing that ratio is one of the easiest ways to sense whether a contractor is bidding a real job or just selling paint.
Core phases of a professional exterior repaint
- Inspection and scope: walking the property, noting substrate condition, identifying rot, mildew, failed caulk, and chalking paint.
- Surface preparation: pressure washing, scraping loose paint, sanding rough edges, spot-priming bare wood, and caulking gaps.
- Protection: covering plants, decks, light fixtures, and hardware, plus masking windows, trim edges, and roof lines.
- Application: one primer coat where required and one or two topcoats, applied by brush, roll, or airless spray depending on substrate.
- Cleanup and walkthrough: removing tape and covers, hauling debris, and reviewing the finished surface with the homeowner.
How to decide whether you need full repaint or targeted work
Not every faded house needs a complete repaint. The first useful decision is if you are looking at cosmetic refresh work, a partial repaint of one or two elevations, or a full-body respray. Each has a different price tier and a different kind of contractor attached to it.
A small touch-up crew is rarely the right choice for a full repaint, and a full exterior crew is overkill for a single trim repair. Mismatching the project to the contractor is one of the most common reasons bids feel either inflated or suspiciously low. Before calling anyone, walk the house and decide which category you actually fall into.
Signs you need a full repaint rather than touch-ups
- Chalk rubs off on your hand along more than a few walls.
- Peeling or flaking is visible on multiple elevations, not just one sheltered side.
- Caulk lines have failed around most windows and trim.
- Color fading is uneven across the front elevation, suggesting old, weathered film.
- The home has not been painted in 8 to 12 years and has visible substrate exposure.
If only one or two of these apply, a partial repaint or maintenance coat may be enough. If three or more apply, asking exterior painters to quote the full envelope of the house usually gives a better result and a better warranty.
How to read a written estimate from exterior painters
Two bids that look close in price can describe very different jobs. A useful estimate names the substrate, the prep method, the number of coats, the brand and product line of the paint, and the scope of repairs included. When those details are vague, the contractor is leaving room to charge for them later, or simply has not thought them through.
Homeowners who compare bids line by line tend to make better decisions than those who compare only the bottom number. The list below covers the items you should expect to see in any professional exterior painting proposal.
Line items to look for in a painting estimate
- Surface preparation: pressure washing, scraping, sanding, and feather sanding of edges.
- Repairs: replacement of rotten boards, nail setting, and minor carpentry if needed.
- Priming: spot prime on bare wood, full prime on raw or heavily chalked surfaces.
- Caulking: windows, doors, trim joints, and siding seams.
- Paint products: brand, product line, and whether contractor-grade or retail-grade.
- Coats: number of topcoats over primer, applied by which method.
- Coverage and exclusions: what is painted and what is not, such as decks, fences, or detached structures.
- Warranty: workmanship coverage in years and what it does and does not include.
Common exterior paint failures and how painters prevent them
Paint fails in recognizable patterns. Each pattern has a cause, and most causes are preventable with the right prep and product choice. Understanding these patterns makes it easier to ask a contractor the right questions and to inspect the finished work before making the final payment.
Typical failure modes on residential exteriors
| Failure pattern | Likely cause | How exterior painters prevent it |
|---|---|---|
| Peeling in sheets, often on the sunny side | Inadequate prep, painting over chalky surface | Pressure wash, allow to dry, full prime before topcoat |
| Blistering on wood siding | Moisture trapped behind the film | Identify and fix moisture source, allow wood to dry, use breathable topcoat |
| Cracking and alligatoring | Too many old layers, rigid buildup | Scrape, sand to a sound edge, prime bare areas |
| Early fading on dark colors | Lower-quality pigments, thin application | Use exterior-grade colorants and apply at the manufacturer’s recommended mil thickness |
| Mildew streaks under eaves | Organic growth, shaded exposure | Wash with mildewcide, use paint with mildewcide additive in shaded areas |
If a bid does not describe how the contractor plans to address a failure you already see on your house, that gap is worth asking about before the work begins.
Questions to ask exterior painters before signing a contract
The first conversation is the best chance to filter out contractors who are not a fit. A careful contractor will answer these questions clearly. A vague or evasive answer is usually a sign of a vague or evasive job.
Useful pre-hire questions
- How many exterior repaints like mine did you complete in the last twelve months?
- Who is on the crew, and will any work be subcontracted?
- Which paint products do you recommend for my siding, and why those specifically?
- How do you handle rotten wood, failed caulk, and mildew discovered during prep?
- What warranty do you provide on workmanship, and what does it cover?
- Can you share references from homes painted at least three years ago?
- What is the payment schedule, and how is the final balance released?
For homeowners looking to validate local options, browsing a directory of established exterior painters in Wichita, KS can give a useful sense of the range of contractors, services, and tenure in the market. It is a starting point, not a substitute for direct interviews and references.
How to compare bids from exterior painters fairly
Comparing bids is harder than it looks because the format and assumptions vary. The cleanest way is to build a simple side-by-side sheet of the variables that actually drive the result. Use the table below as a starting framework and add any project-specific items that matter to your home.
Bid comparison framework
| Comparison item | Contractor A | Contractor B | Contractor C |
|---|---|---|---|
| Square footage and elevations included | |||
| Prep method (wash, scrape, sand) | |||
| Primer type and where applied | |||
| Topcoat brand and product line | |||
| Number of topcoats | |||
| Carpentry and rot repair allowance | |||
| Projected start and duration | |||
| Total price |
Watch for bids that are 20 percent or more below the others. A very low number usually means the prep and the paint products are also low, and that combination is the classic recipe for a job that fails early.
How exterior painters handle different siding materials
Not all siding is painted the same way. Wood, engineered wood, fiber cement, stucco, brick, and metal each have specific prep and product requirements. Contractors who treat every substrate identically often deliver uneven results, especially on homes that mix materials.
Substrate-specific considerations
- Wood clapboard and shingles: most prep-intensive, often needs full prime on bare spots, benefits from breathable topcoats.
- Engineered wood siding: pre-finished boards may need special primers; check manufacturer instructions before repainting.
- Fiber cement: holds paint well, but cut edges and field-cut ends must be sealed before topcoating.
- Stucco: often needs elastomeric coatings on hairline cracks, and moisture must be ruled out before painting.
- Brick: typically not painted, but if it is, proper sealers and breathable masonry paints are required.
- Metal siding and trim: requires direct-to-metal primers, especially on rust-prone areas.
When talking with exterior painters, ask how they plan to handle each material on your home. If the answer is the same approach for all of them, that is worth probing further.
Timing, weather, and scheduling considerations
Exterior paint cures within a specific window of temperature and humidity. Most latex products want surface temperatures between 50 and 85 degrees Fahrenheit, low humidity, and no rain for several hours after application. Oil-based products have their own rules. Crews that ignore these windows leave you with finishes that stay soft, blush, or wash off in the first storm.
Practical scheduling checks
- Confirm the start window and a realistic duration based on weather, not just labor.
- Ask how the crew will protect freshly painted surfaces if a pop-up shower appears.
- Make sure landscaping, irrigation, and outdoor pets are planned around the work.
- Decide in advance how the final walkthrough and punch list will be handled.
Red flags when evaluating exterior painters
Most problems with exterior paint jobs can be traced back to warning signs that were visible long before the crew showed up. A short list of consistent red flags can save homeowners a great deal of trouble.
Warning signs to take seriously
- Pressure to sign a contract on the first visit, sometimes with a “today only” discount.
- No written warranty, or a verbal promise that is not in the contract.
- Estimates given without walking the property or testing for moisture.
- Unmarked or mismatched paint cans, or a refusal to name the product line.
- Requests for large upfront deposits, especially before materials are delivered.
- No local references, or only references for jobs less than one year old.
Any one of these is worth a second conversation. Two or more in the same proposal is usually a reason to keep looking.
How warranties actually work on exterior paint jobs
Two different warranties are in play on a repaint. The paint manufacturer offers a product warranty against defects like premature fading or chalking. The painting contractor offers a workmanship warranty against failures caused by poor prep or application. Homeowners often confuse the two, and contractors sometimes lean into that confusion.
A reasonable workmanship warranty runs two to five years and covers peeling, blistering, and flaking caused by the application. It does not cover damage from physical impact, settlement cracks, or moisture intrusion from plumbing or roofing problems. A written warranty that is specific about what is included and what is not protects both sides and avoids disputes later.
How to prepare your home before the crew arrives
Good preparation by the homeowner shortens the job, lowers the chance of accidental damage, and makes the final walkthrough easier. Most exterior painters will give you a list, but the items below cover the basics that come up on nearly every project.
Homeowner prep checklist
- Move outdoor furniture, grills, and planters away from the work area.
- Bring in or cover items in nearby garden beds, especially delicate shrubs.
- Close windows, lock pets indoors, and plan for any security cameras that may be triggered by ladders.
- Mark irrigation heads and any low-voltage lighting that could be damaged.
- Decide on color placement on trim, doors, and accent areas in advance.
- Confirm vehicle parking for the crew and where dumpsters or debris will sit.
What a final walkthrough should include
The final walkthrough is the homeowner’s last chance to flag small issues before final payment. It is worth scheduling this for daylight hours, ideally with a low sun angle, so thin areas, missed spots, and lap marks are easier to see. A good contractor will walk the property with you and make a punch list on the spot.
Items to inspect during the walkthrough
- Coverage on siding, especially under eaves and on north-facing walls.
- Clean lines where trim meets siding, and where paint meets windows or doors.
- Caulk lines around windows, doors, and trim joints.
- Garage doors, gutters, downspouts, and exterior light fixtures.
- Any drips, runs, or sags on flat surfaces.
- Clean condition of landscaping, walkways, and the jobsite in general.
Hold the final payment until the punch list is completed. Most contractors expect this and structure their payment schedule around it.
Frequently asked questions
How do I find reliable exterior painters in my area?
Start with a shortlist from local referrals, neighborhood associations, and contractor directories that show business tenure and verified reviews. Narrow that list by asking direct questions about prep method, product line, and warranty, then compare written bids on equal terms. Local listings for exterior painters in Wichita, KS are one example of how a directory can be used as a starting point, but the final choice should always be based on direct interviews and references from past clients.
How much does it typically cost to hire exterior painters?
Pricing depends on the size of the home, the condition of the substrate, the number of stories, the paint products used, and regional labor rates. A clear written estimate that breaks down prep, primer, topcoats, and repairs is more useful than a single number, because it lets you compare bids on the same scope.
How long should an exterior paint job last before another repaint?
On most homes, a quality exterior repaint with proper prep holds up for 7 to 10 years on the sunny sides and 10 to 12 years on shaded elevations. Dark colors, harsh exposures, and lower-quality products shorten that window. Regular cleaning and small maintenance coats can extend it further.
Should exterior painters use spray, brush, or roller?
Each method has a place. Airless spray is fast and gives a smooth finish on large flat areas, but it requires careful masking and is often followed by back-brushing or back-rolling to work paint into the substrate. Brush and roller are slower but give more controlled coverage on trim, detail, and textured surfaces. Most jobs use a mix of all three.
Is it worth paying for a higher-end paint product?
Premium exterior lines usually offer better color retention, more flexibility through temperature swings, and stronger mildew resistance. Whether the upgrade is worth it depends on the home’s exposure and the homeowner’s expectations. A careful contractor can match the product to the substrate and the climate rather than defaulting to a single tier.
Can exterior painters work in cold or humid weather?
Most latex exterior paints need surface temperatures above about 50 degrees Fahrenheit and low humidity to cure properly. Cooler or more humid conditions extend dry time and can affect finish quality. Experienced contractors will reschedule or adjust rather than push through a weather window that risks the finish.
How do I handle color choices with the painter?
Pick colors before the bid is finalized so the estimate reflects the actual product, not a placeholder. Ask the contractor to apply test patches on the home, since on-site color shifts with sun exposure, surrounding landscaping, and neighboring homes. Two sample sizes painted on different elevations give a much better read than a small swatch under store lighting.
What should be in the contract before work begins?
The contract should describe the scope, the surfaces included and excluded, the prep method, the products, the number of coats, the warranty, the payment schedule, the start date, and the projected completion date. It should also note how change orders are handled, since hidden damage is often discovered once prep begins.
How can I tell if exterior painters did the prep they described?
Walk the property mid-project, before the final coat, and look at the bare substrate. Surfaces should be clean, sound, and free of chalk. Bare wood should be primed, and caulk should be in place around windows and trim. Prep that was rushed is usually still visible once the topcoat is off the wall.
When is the best season to schedule exterior painting?
Spring and fall tend to give the most predictable conditions in most regions: moderate temperatures, low humidity, and lower rain risk. Summer works well with early-morning starts, while winter is only practical in mild climates or with products formulated for cooler application. The best window is the one your contractor can commit to without rushing around weather.
Leave a Reply