
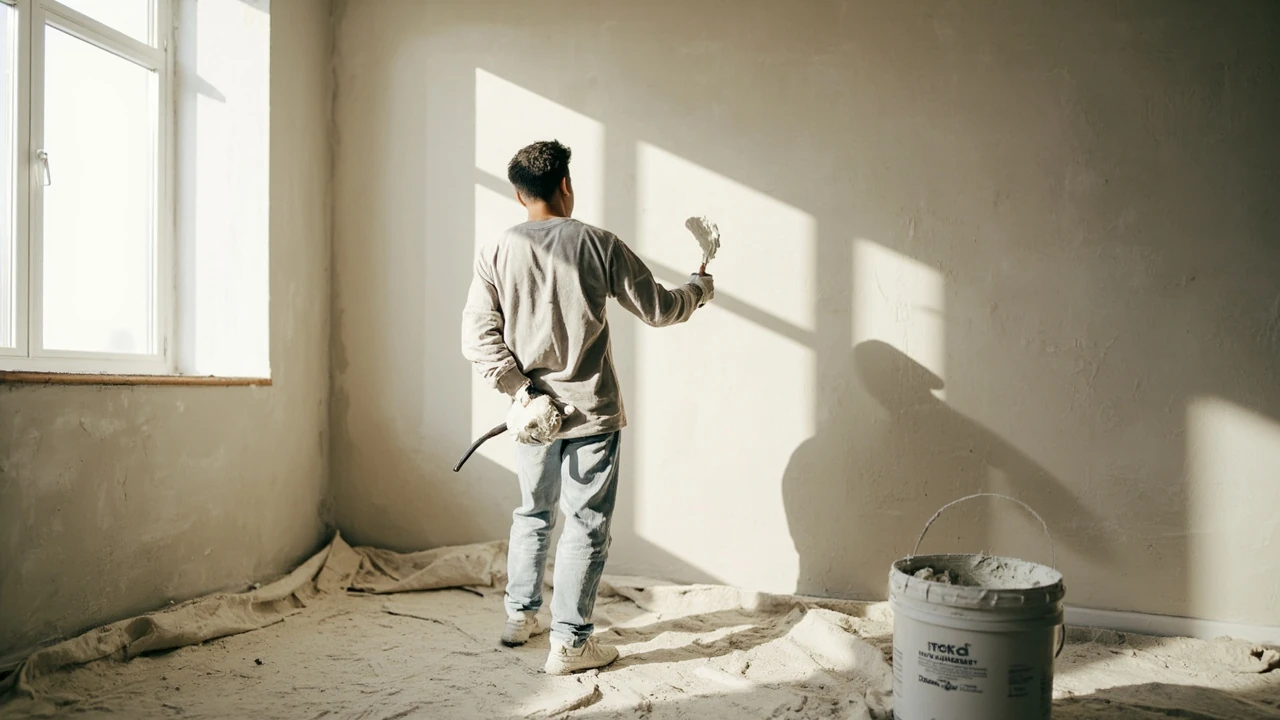
How to replaster a wall: what the job actually involves
Hairline cracks creep across the bedroom wall, the dining room plaster sounds hollow when you tap it, and the living room surface has more patches than original finish. Many homeowners reach this point and assume they need a full drywall replacement or a contractor on speed dial. In reality, learning how to replaster a wall is a well-understood sequence of assessment, preparation, mixing, application, and curing, and most moderate repair areas can be handled without tearing the wall down to the studs.
This guide walks through the full replastering process in the order a careful DIYer or handyman would actually follow. It covers when replastering makes sense, how to evaluate the existing wall, what tools and materials to gather, how to mix and apply each coat, how long to wait before painting, and the small mistakes that turn a good job into a wavy or cracked one. The goal is a flat, sound surface ready for primer and paint, not a perfect Level 5 commercial finish.
When replastering is the right call
Replastering is the process of applying fresh plaster over an existing wall to repair damage, smooth uneven areas, or replace a finish that has failed. Plaster in residential work is typically a mix of gypsum, lime, or cement combined with water and sand, and it has been used as a wall finish for centuries because it adheres well, takes a smooth trowel finish, and accepts paint or wallpaper readily.
For a homeowner deciding between patching, replastering, or replacing drywall, it helps to separate the cases. A small nail hole or a fist-sized gouge is a patch, not a replastering project. A room where plaster is failing across large sections, where the surface is visibly uneven, or where a remodel requires a fresh substrate is a replastering project. If the existing wall is severely water-damaged, moldy, or the lath behind the plaster is rotten, the conversation shifts toward removal and new drywall instead.
Inspecting the wall before you commit
The first step in any replastering project is to assess the condition of the wall. Skipping this step is the single most common reason DIY plaster jobs fail: the surface looked sound from across the room, but the new plaster did not adhere and began to bubble or fall off within weeks.
Run through this checklist before mixing any material:
- Tap the wall with your knuckles and listen for hollow or drummy areas, which signal plaster that has lost its bond.
- Look for active cracks, especially diagonal ones above door and window openings, which can indicate structural movement rather than a finish problem.
- Check for moisture stains, efflorescence, or musty smells that point to a leak in the wall or roof.
- Probe the surface with a screwdriver in a hidden spot; if it powders easily or flakes off, the existing plaster is failing.
- Identify the substrate, whether it is old wood lath, plasterboard, or a previous cement render, because each accepts new plaster differently.
If the wall passes these checks, replastering is a reasonable project. If moisture, structural movement, or widespread debonding is present, address those root causes first or consider a more invasive repair.
Tools and materials you will need
Plastering is one of those trades where having the right tools is half the work. Buying cheap tools often costs more in the long run because they make the application harder and the finish worse. Most of the items below are available at any home improvement or masonry supply store.
| Category | Items | Why it matters |
|---|---|---|
| Safety gear | Dust mask (N95 or better), safety glasses, work gloves, drop cloths | Plaster dust and wet lime or cement are irritating to lungs, eyes, and skin |
| Surface prep | Putty knife, paint scraper, wire brush, sandpaper (80 and 120 grit), vacuum or brush | Loose material must come off or the new coat will fail |
| Mixing | Clean bucket (5-gallon), mixing paddle or drill attachment, measuring jug | Plaster ratios are sensitive; the wrong water amount ruins a batch |
| Application | Steel trowel (finishing), plastering trowel, hawk board, corner trowel, sponge float | The trowel and hawk are the main tools for spreading and smoothing |
| Plaster and bonding | Base coat plaster or backing plaster, finish coat plaster, PVA bonding agent or plaster primer | Bonding agent is the difference between plaster that grips and plaster that slips |
| Finishing | Spray bottle or damp sponge, fine sanding sponge, primer, paint | Dampening and polishing create the smooth final surface |
If you are replastering a small patch rather than a full wall, you can often get by with a single trowel, a hawk, a bucket, and a scraper. For a full room, investing in a quality finishing trowel and a corner tool pays off in the final result.
Preparing the surface for a new coat
Proper surface preparation is the difference between plaster that lasts decades and plaster that cracks within a year. Even experienced tradesmen will tell you that they spend more time on prep than on actual trowel work.
Start by removing everything from the wall: pictures, nails, screws, switch plates, and outlet covers. Tape over any remaining outlets so wet plaster does not get into them. Lay drop cloths across the entire floor, because wet plaster is much easier to contain than to clean up after it has spread.
Then work the wall itself in this order:
- Scrape off all loose, flaking, or blistered plaster with a putty knife or paint scraper. Stop when you reach material that is firmly bonded.
- Cut back any cracks to a small V-groove so the new plaster has a mechanical key to grip, rather than just bridging the surface.
- Sand glossy or painted areas with 80-grit sandpaper to break the sheen. Plaster does not stick well to slick paint.
- Brush and vacuum the wall to remove dust. Dust is the enemy of adhesion.
- Apply a bonding agent or PVA solution according to the product label. Many products require dilution and a specific drying time before the first coat goes on.
If the wall has any holes larger than a few inches, fill them first with a setting-type patching compound and let it cure before the full skim coat goes on.
Mixing plaster correctly
Plaster is unforgiving on the mixing step. Too much water and the mix runs off the wall; too little and it sets before you can spread it. Most gypsum plasters use roughly two parts plaster to one part clean water by volume, but always follow the manufacturer ratio printed on the bag.
Always add plaster to water, not the other way around. Pour the measured water into a clean bucket first, then sift the plaster in slowly while mixing with a paddle. Let the plaster soak for a minute or two so the powder wets out, then mix again to a smooth, lump-free consistency similar to thick pancake batter. A common beginner error is to add more plaster or water to rescue a batch that is setting up, which creates weak, inconsistent material. Mix only what you can use within the working time, which is usually 20 to 40 minutes depending on the product and room temperature.
Applying the scratch coat
The first coat is sometimes called the scratch coat or base coat. Its job is to build up missing material, level the wall, and provide a rough surface for the finish coat to grip. This is where most of the thickness happens, and it is also where you can still correct major dips and humps.
Load the hawk with plaster from the bucket, then scoop a manageable amount onto your trowel with a single smooth pass. Apply the plaster to the wall with the trowel held at a slight angle, pressing firmly so the material bonds to the substrate rather than skating across the surface. Work in sections you can finish before the plaster firms up, usually a strip about a meter wide across the wall.
Spread the first coat to an even thickness of about 5 to 7 mm. If the wall has deep areas, build them up in layers rather than one thick pass; thick applications shrink and crack as they dry. While the scratch coat is still firm but not fully set, run the edge of the trowel or a scratcher lightly across the surface in horizontal lines. These scratches give the finish coat a mechanical key, which is why the layer has its name.
Allow the scratch coat to firm up but not fully dry before applying the next layer. In most conditions, that is a wait of about 20 to 30 minutes, although warm or dry rooms shorten the window. A practical test is to press a clean finger to the surface: it should feel firm but still slightly damp, not wet enough to smear.
Applying the finish coat
The second layer, or finish coat, gives the wall its final smooth appearance. This is the coat that painters and homeowners will see every day, so taking your time here is worth it. The finish coat is applied thinner than the scratch coat, typically 2 to 3 mm, and is worked to a polished surface with a clean, flexible trowel.
Mix the finish plaster slightly looser than the base coat so it spreads more easily. Apply it with long, overlapping strokes, keeping the trowel angle shallow so the leading edge does not dig into the previous pass. As the surface begins to firm, go back over it with a clean trowel to flatten any trowel marks. Do not overwork the plaster; once it starts to set, further troweling pulls moisture to the surface and creates a weak, dusty skin.
For a very smooth finish, lightly dampen the surface with a spray bottle or a damp sponge float as it firms, then polish with the trowel. This last pass is what produces the tight, almost glassy look of a freshly plastered wall.
Common mistakes to avoid
Even the most careful DIYers can make mistakes when replastering a wall. The good news is that most of them are predictable and preventable.
- Skipping prep. Painting over dust, loose plaster, or glossy paint guarantees failure. The wall will look fine for a few weeks and then bubble or peel.
- Making the mix too stiff or too runny. A stiff mix is hard to spread and sets before you can finish; a runny mix sags on the wall and shrinks as it dries.
- Applying coats too thick. Plaster applied thicker than about 10 mm in a single pass tends to crack as it cures, especially over porous backgrounds.
- Overworking the surface. Constant troweling after the initial set draws water and fines to the surface and weakens the skin.
- Painting too soon. Plaster must be fully dry and cured before primer and paint, or the paint will trap moisture and peel.
- Ignoring temperature and ventilation. Plaster cures by giving off or taking on moisture. Very hot, dry, or cold conditions all change the working time and final strength.
Most of these issues are visible only after the wall has dried, which is why the temptation to skip prep is so common. A patient first hour saves a frustrating repair the following month.
Drying and curing times
One of the most common questions homeowners ask is how long to wait before painting a freshly plastered wall. A typical two-coat replastering job in a normal indoor environment takes 5 to 7 days to dry sufficiently for a mist coat of primer, and longer in cool or humid conditions. Plaster dries from the surface inward, so a wall that looks dry on the outside can still hold significant moisture deeper in the scratch coat.
A simple test is to tape a small piece of clear plastic to the wall. If condensation forms under it after a few hours, the wall is still releasing moisture and is not ready to paint. A moisture meter designed for plaster or masonry gives a more precise reading, but the plastic test works well enough for most DIY situations.
Rushing the paint step is a false economy. Primer and paint trap moisture against the plaster, which leads to peeling, blistering, and in the worst cases, mold growth inside the wall. A breathable primer designed for new plaster, followed by the finish paint, lets the wall continue to dry while still providing a sealed surface.
Replastering versus drywall versus patching
Homeowners often ask whether they should replaster, replace with new drywall, or simply patch the wall. The honest answer is that the right option depends on the wall’s condition, the desired finish, and the budget.
| Option | Best for | Skill level | Typical cost | Finish quality |
|---|---|---|---|---|
| Spot patch | Small holes, nail pops, fist-sized damage | Beginner | Lowest | Acceptable, depends on matching existing texture |
| Replaster skim coat | Widespread cracking, rough or uneven plaster, prepping for paint | Intermediate | Moderate (materials plus time) | Excellent, traditional smooth finish |
| Full replaster | Rooms with failed plaster across large areas, historic homes where drywall is not appropriate | Advanced or professional | Higher due to labor and materials | Excellent, durable, repairable |
| Drywall replacement | Severely damaged plaster, water damage, mold, gut renovations | Intermediate to advanced | Moderate to high | Excellent, fast for large areas |
For most older homes with original lime or gypsum plaster, replastering preserves the character of the wall and avoids disturbing wood lath or other period features. For modern homes where the wall is already plasterboard, a skim coat is often enough to refresh the finish before painting.
Maintaining a replastered wall
Once your replastered wall is complete, a small amount of care extends its life considerably. Keep the wall dry by addressing any plumbing or roof leaks quickly. Avoid hanging heavy items on freshly plastered walls for at least a month, because the plaster continues to gain strength well after it feels dry. When you do hang pictures or shelves, use anchors rated for plaster rather than simple screws, which can crack the surface if over-tightened.
For painted finishes, use a breathable primer and quality interior paint so the wall can continue to release moisture. Avoid aggressive cleaners on newly painted plaster, since the paint film needs time to fully cure. With reasonable care, a properly applied plaster job will last for decades without needing more than a fresh coat of paint.
When to call a professional
There is a difference between a sensible DIY project and a situation where hiring a plasterer is the smarter move. Calling a professional is usually the right call when the area to be replastered is larger than a single wall, when ceilings are involved, when the existing wall is severely damaged or out of plumb, or when a perfectly smooth finish is required for glossy paint or critical lighting conditions. A trained plasterer can also identify and address underlying problems such as damp, structural movement, or failing lath that a DIYer might miss.
For most homeowners, however, a single accent wall, a damaged bedroom wall, or a kitchen splashback area is a reasonable project. The process is forgiving in small areas because there are fewer joints to blend, and the cost of materials is low enough that redoing a section is not catastrophic. For a detailed look at a professional sequence of replastering, this step-by-step replastering walkthrough covers preparation, mixing, the scratch coat, and the finish coat in more depth.
Frequently asked questions
How long does it take to replaster a wall?
A typical single-wall replastering project takes a day or two of active work for prep, scratch coat, and finish coat. Allowing for drying and curing before painting, plan on a full week from start to primer.
Can I replaster over old paint?
Yes, provided the paint is well bonded, sanded to remove the gloss, and primed with an appropriate bonding agent. Plaster does not adhere well to slick, glossy, or peeling paint, so surface preparation is essential.
Do I need to remove old plaster before replastering?
Only the loose or failed sections. Firmly bonded plaster can be replastered over after proper cleaning and the application of a bonding agent.
What is the difference between plaster and joint compound?
Plaster sets by a chemical reaction and is typically used as a base or finish coat on walls. Joint compound is an air-drying product primarily used for finishing drywall seams. They behave differently on the wall, so use the product that matches the job.
How thick should each plaster coat be?
The scratch coat is usually 5 to 7 mm, and the finish coat about 2 to 3 mm. Avoid applying more than about 10 mm of plaster in a single pass to prevent cracking.
Can I plaster a wall in cold or humid weather?
Plastering is best done in moderate temperatures and low humidity. Cold slows curing, while high humidity extends drying time. Both can be managed, but extreme conditions affect working time and final strength.
What tools do I need to replaster a wall?
At minimum, you will need a hawk and trowel, a bucket, a mixing paddle, a scraper, sandpaper, a bonding agent, and the plaster itself. Safety gear such as a dust mask, gloves, and eye protection is also important.
Is replastering cheaper than replacing drywall?
For a single wall in reasonable condition, replastering is usually cheaper because you avoid demolition, disposal, and new drywall installation. For very large or severely damaged areas, drywall replacement can be more cost-effective.
How do I know if my wall needs replastering or just patching?
Small holes and isolated cracks are good candidates for patching. Widespread cracking, debonded plaster, or rough and uneven surfaces across most of the wall are signs that a full replaster or skim coat is the better option.
Can I paint directly onto new plaster?
No. New plaster should be sealed with a breathable primer or a mist coat of diluted paint before the final finish coat. Painting directly onto uncured plaster traps moisture and causes peeling.
For homeowners who want a better sense of the materials, mix ratios, and application timing involved in a professional job, this detailed walkthrough on replastering a wall outlines the same sequence from a tradesman’s perspective. If your project also involves adjacent renovation work such as replacing a garage door cable or hiring remodeling help, our garage door cable replacement guide and home remodeling contractor hiring advice cover those jobs in depth.
Leave a Reply